
Proper high bay lighting isn’t just about illuminating a space—it’s the backbone of workplace safety, employee productivity, and long-term energy savings in warehouses, manufacturing facilities, and large retail environments. For contractors, however, selecting the right high bay LED shop lights presents a unique challenge. The market is flooded with options spanning different form factors, wattage ratings, beam angles, and mounting configurations. Understanding which specifications matter for a specific application, and then installing fixtures correctly at heights of 20 to 50 feet, requires both technical knowledge and practical experience. This guide strips away the marketing jargon and delivers a contractor-focused framework for evaluating, selecting, and installing high bay LED lighting. Whether you’re retrofitting an aging HID system or outfitting a new construction project, you’ll find actionable selection criteria, a clear breakdown of fixture types, and hands-on installation insights that translate directly to the job site.
Understanding High Bay LED Shop Lights: Key Performance Metrics
Wattage alone tells you how much energy a fixture consumes—not how well it lights a space. Contractors need to evaluate four metrics that collectively determine lighting quality and long-term cost. First, total lumen output measures raw brightness. A fixture rated at 30,000 lumens delivers significantly more usable light than one at 15,000, but the number only matters when matched to ceiling height and spacing. Second, lumens per watt (efficacy) reveals true energy efficiency. A fixture producing 150 lumens per watt will slash utility costs compared to one delivering 100 lumens per watt at the same brightness level—this is where ROI conversations with clients gain traction. Third, color temperature, measured in Kelvin, sets the visual tone of the environment. Most industrial and warehouse applications perform best between 4000K and 5000K, providing a neutral to cool white that promotes alertness without harsh glare. Fourth, the Color Rendering Index (CRI) indicates how accurately colors appear under the light source. For general warehousing, a CRI above 70 suffices, but assembly lines, quality inspection stations, and retail environments demand CRI ratings of 80 or higher to ensure workers can distinguish materials, labels, and defects with confidence. Prioritizing these four metrics over brand names or price tags gives contractors a reliable, repeatable evaluation framework for any project scope.
Exploring the Main Types: Linear and Round High Bay Lighting
Linear High Bay Lights
Linear high bay fixtures feature an elongated profile, typically spanning four to eight feet in length, that delivers a wide, even light distribution across broad areas. Their geometry makes them particularly effective above aisles, open workspaces, and production floors where uniform illumination without dark spots is critical. The elongated lens spreads light laterally, reducing the number of fixtures needed to cover rectangular zones. Contractors frequently choose linear high bays for retail backrooms, distribution centers, and manufacturing lines because they integrate visually with modern ceiling aesthetics while performing at high output levels. Mounting is straightforward—most linear units support both suspended chain or cable installation and direct surface mounting to ceiling structures, giving flexibility based on available clearance and client preferences.


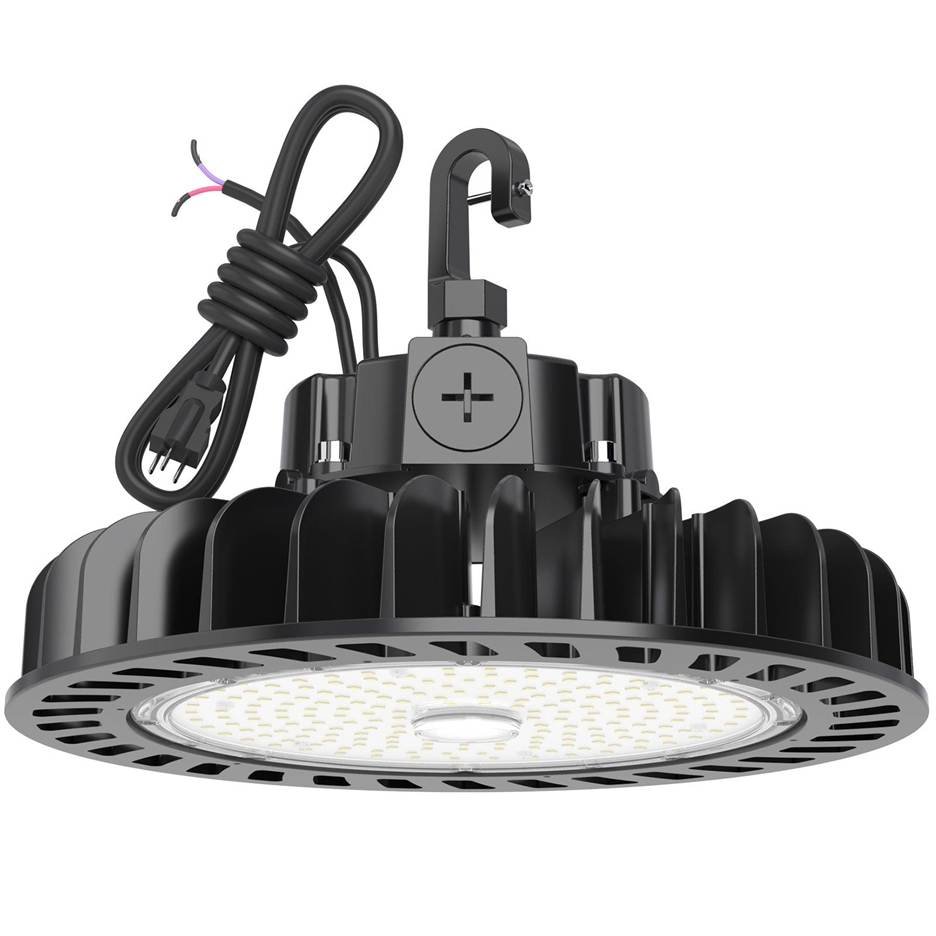
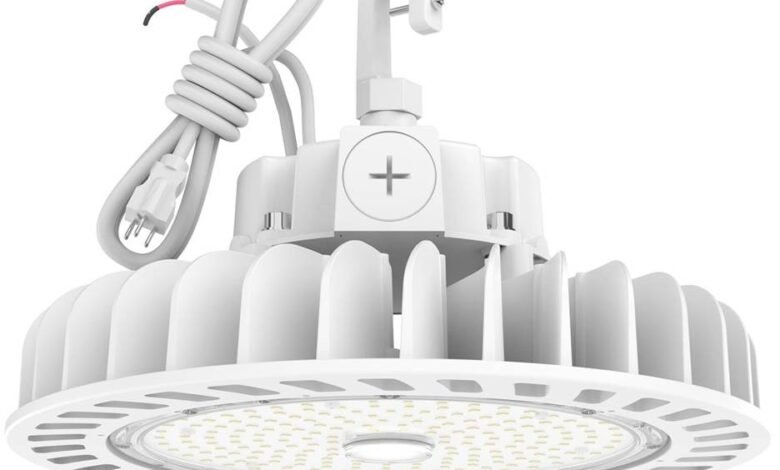
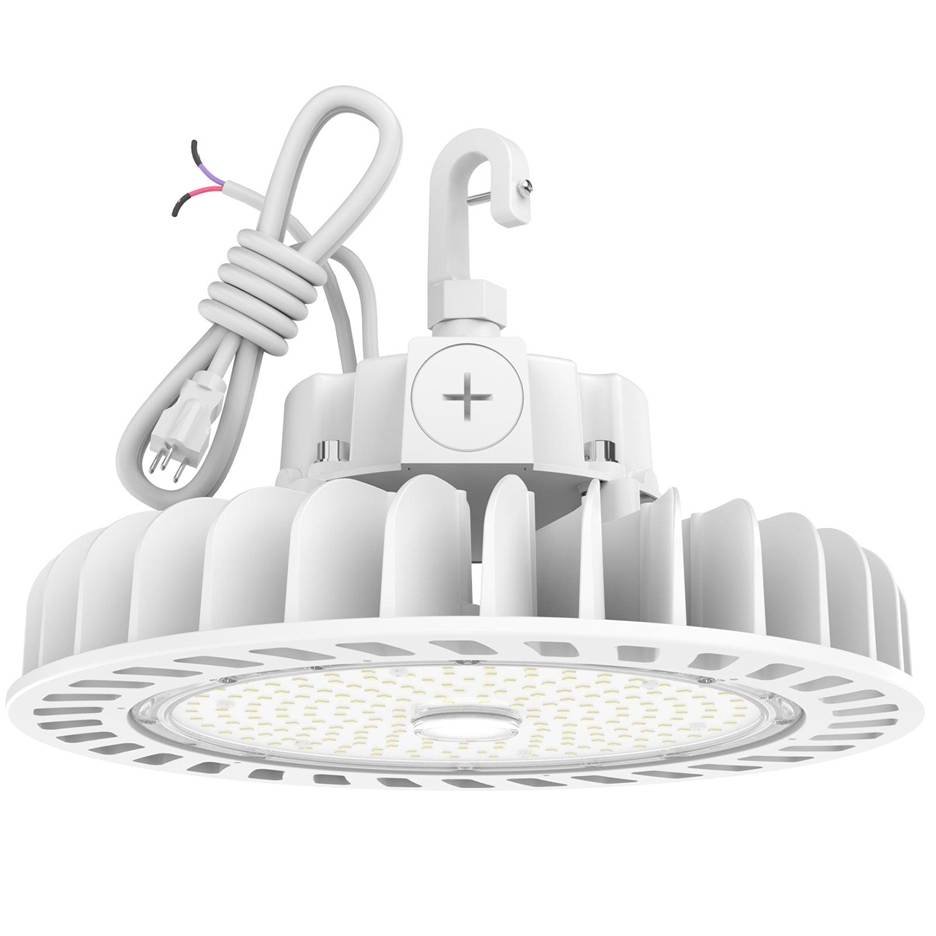
Round LED High Bay Lights (UFO Bays)
Round high bays, commonly called UFO fixtures due to their disc-shaped housing, concentrate high-intensity light in an omnidirectional or focused downward pattern. Their compact form factor generates exceptional lumen density from a single point source, making them the go-to choice for ceilings above 30 feet where light must travel farther before reaching the work plane. Manufacturers like Hyperlite have developed UFO bay models that serve as practical direct replacements for legacy HID fixtures—existing pendant hooks and junction box locations often align perfectly with round mounting hardware, minimizing retrofit labor. Pendant mounting with adjustable cord lengths is the most common configuration, though surface-mount brackets accommodate spaces where suspension isn’t feasible. Their rugged, sealed housings also resist dust and moisture better than open linear designs in harsh environments.
How to Choose the Best High Bay LED Shop Lights for Your Project
Selecting the right high bay fixture isn’t guesswork—it’s a systematic process that matches environmental conditions to lighting performance. Following a structured decision matrix eliminates costly mistakes and ensures every installation meets both code requirements and client expectations.
Start with ceiling height and mounting height, because these two measurements dictate everything downstream. For ceilings between 15 and 25 feet, fixtures with beam angles of 90 to 120 degrees spread light broadly enough to create uniform coverage without excessive overlap. Between 25 and 35 feet, narrow the beam to 60 to 90 degrees so light concentrates downward rather than dissipating before it reaches the floor. Above 35 feet, tight beam angles below 60 degrees become essential—this is where UFO-style fixtures with focused optics outperform linear alternatives.
Next, analyze the space and its tasks. A warehouse with tall racking needs vertical illumination between aisles, favoring narrow-beam fixtures spaced tightly along each corridor. An open assembly floor requires broad, overlapping coverage to eliminate shadows on workbenches—target 50 foot-candles for general manufacturing and 30 foot-candles for storage areas. Quality inspection zones may demand 75 foot-candles or more with high-CRI fixtures to ensure defect detection.
Then determine required brightness and beam pattern by calculating total lumens needed for the square footage. Multiply the target foot-candle level by the floor area, then divide by a coefficient of utilization (typically 0.6 to 0.8 depending on wall reflectance and fixture efficiency). This calculation tells you how many fixtures at a given lumen output will satisfy the design.
Finally, factor in installation and mounting constraints before committing to a fixture type. Assess structural support capacity—steel purlins handle pendant loads differently than open-web joists or concrete decks. Verify wiring access routes and determine whether existing conduit runs can serve new fixture locations or if new home runs are required. In retrofit scenarios, matching new fixtures to existing mounting points and junction box spacing saves significant labor. For new construction, coordinate fixture placement with mechanical systems early in the design phase to avoid conflicts with ductwork, sprinkler heads, and structural members.
See also: future technology implications explored
Contractor’s Guide to High Bay LED Installation & Best Practices
Pre-Installation: Safety and Planning
Every high bay installation begins with safety protocols that protect both the crew and the facility. Implement lockout/tagout (LOTO) procedures on all circuits feeding the installation area—never assume a circuit is dead based on a switch position alone. Verify zero energy with a non-contact voltage tester at each junction point. Since high bay work inherently involves elevated positions, fall protection is non-negotiable. Crews working above six feet must use personal fall arrest systems, aerial lifts with guardrails, or scaffolding that meets OSHA standards. Before any physical work begins, review the electrical diagrams for the specific fixture model, confirm circuit capacity against the total connected load, and walk the ceiling space to identify potential conflicts with existing infrastructure. This planning phase catches problems that become expensive once lifts are in position and labor hours are running.
Installation Steps for Common Fixtures
For UFO-style round fixtures, the process typically starts with securing a mounting bracket or hook to the structural member—whether that’s a threaded rod into a concrete deck, a beam clamp on a steel purlin, or a toggle bolt through metal decking. Thread the safety cable through the fixture’s integrated loop before making electrical connections. Strip conductors, match line, neutral, and ground to the fixture’s lead wires using appropriate wire nuts or lever connectors inside the junction box, then tuck connections neatly and close the cover. Hang the fixture on the bracket and confirm it sits level. Linear fixtures follow a similar sequence but require two mounting points. Attach suspension cables or chains at each end, adjust lengths until the fixture hangs level using a spirit level, then complete wiring at the integrated driver compartment. After energizing, verify beam aim and adjust any tilting brackets to direct light precisely where the work plane demands it.
Wiring and Power Considerations
Most commercial high bay LEDs accept multiple input voltages—commonly 120V, 277V, or 347/480V—through an auto-sensing driver, but always confirm compatibility on the fixture label before connecting. Use appropriately rated junction boxes at each fixture location and ensure all splices remain accessible per NEC Article 314. On 277V and 480V circuits, only qualified electricians should perform connections, and wire gauge must match the circuit breaker rating and total run length to prevent voltage drop exceeding three percent at the last fixture. In retrofit scenarios where existing wiring served higher-wattage HID fixtures, the reduced current draw of LEDs often allows contractors to add fixtures to an existing circuit—just recalculate total load to confirm the breaker and conductor can handle the combined amperage safely.
Maintenance & Upgrades: Ensuring Long-Term Value from Your High Bay Lighting Solutions
LEDs dramatically reduce maintenance compared to HID systems, but they aren’t entirely set-and-forget. Recommend clients implement a semi-annual cleaning schedule—dust and debris accumulating on lenses can reduce light output by 15 to 25 percent within two years, particularly in woodworking shops, food processing plants, and facilities with airborne particulates. A damp microfiber cloth or compressed air restores full output in minutes. When a fixture dims prematurely or flickers, the driver is almost always the culprit rather than the LED chips themselves. Check wire connections first for looseness or corrosion, then test driver output voltage with a multimeter. Many manufacturers sell replacement drivers independently, making repairs far cheaper than full fixture replacement. For clients looking ahead, advise them to specify fixtures with 0-10V dimming or DALI compatibility during initial installation. This small upfront investment enables future integration with occupancy sensors, daylight harvesting systems, and centralized building management platforms—upgrades that can reduce energy consumption by an additional 30 to 40 percent without touching the fixtures themselves.
Matching the Right Fixture to the Job: A Contractor’s Final Takeaway
There is no single “best” high bay LED shop light—only the best fixture for a specific set of job conditions. Ceiling height dictates beam angle requirements. Space function determines foot-candle targets and CRI needs. Structural conditions and existing wiring shape whether a linear or UFO form factor makes more practical sense. Contractors who anchor their selections in measurable performance metrics—lumen output, efficacy, color temperature, and CRI—rather than brand loyalty or price alone consistently deliver installations that perform as designed and satisfy clients long after the final walkthrough. Equally important is the discipline of proper installation practices: thorough pre-installation planning, adherence to LOTO and fall protection protocols, precise wiring that respects NEC requirements, and post-energization verification of beam coverage. When you combine informed fixture selection with professional execution, the result is a safer work environment, measurably lower energy costs, and a client who views you not just as an installer but as a trusted lighting advisor. That reputation drives repeat business and referrals in ways no product catalog ever could.


