
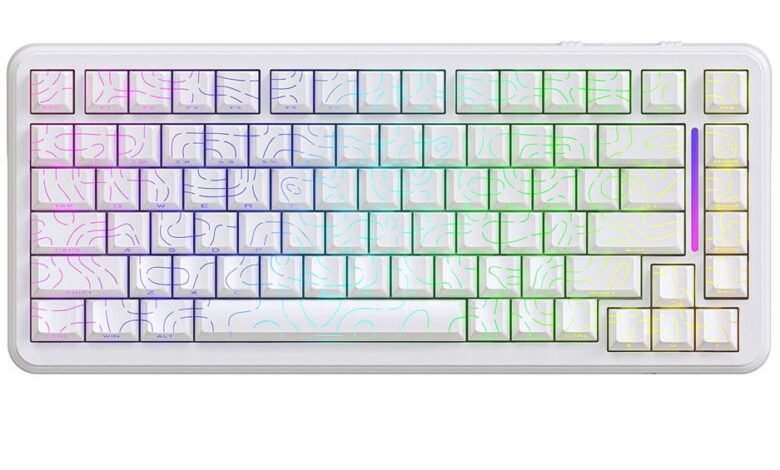
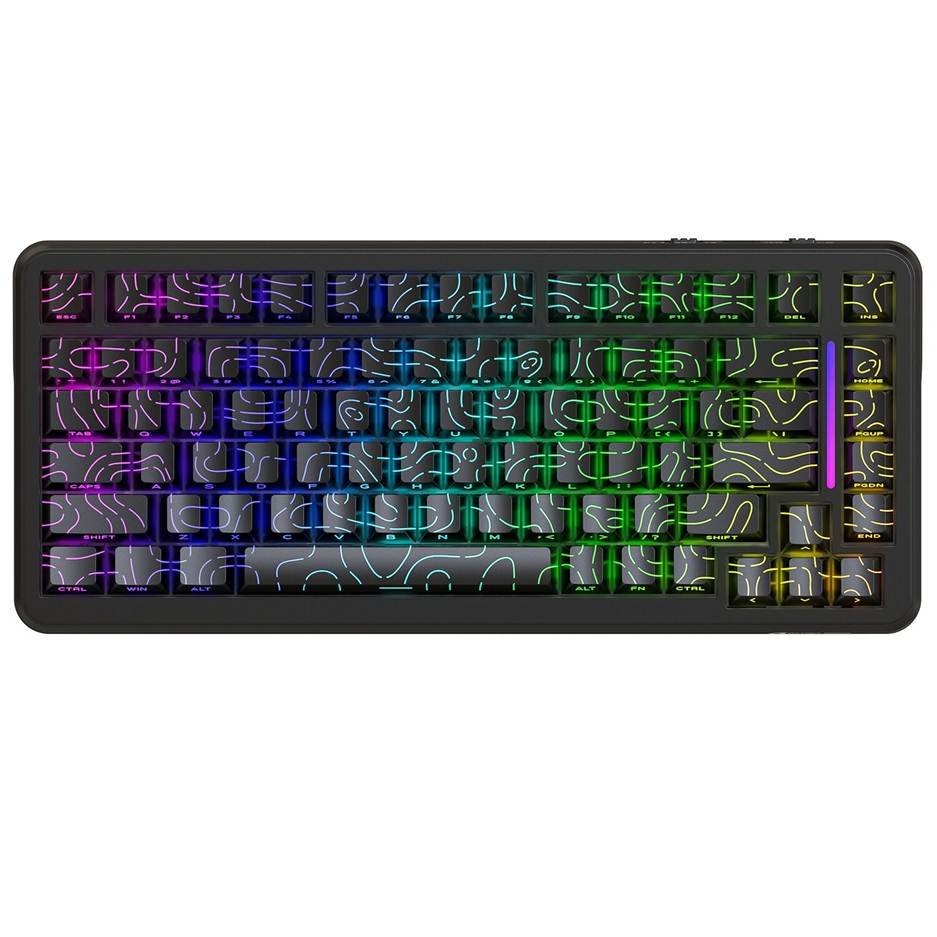
If you’ve ever felt cramped at your desk, wrestling for mouse space while your full-sized keyboard dominates the surface, you’re not alone. Many casual gamers face this exact frustration—wanting enough keys for every command but needing room to flick their mouse during intense gameplay moments. Enter the 75% gaming keyboard, a compact layout that trims the fat without gutting essential functionality. It keeps your arrow keys, function row, and modifiers intact while freeing up valuable real estate on your desk.
But here’s where things get truly interesting: most 75% keyboards come with programmable keys, meaning you can customize every input to match your playstyle. Whether you want one-tap macros for complex ability rotations or remapped shortcuts that keep your fingers anchored in the optimal position, key programming transforms a smaller keyboard into a powerhouse of efficiency. In this guide, we’ll explore what makes the 75% layout ideal for gamers, break down how programmable keys work, walk through a step-by-step setup process, and share optimization tips that help you get the most out of every keystroke.
The 75% Keyboard: A Compact Powerhouse for Gamers
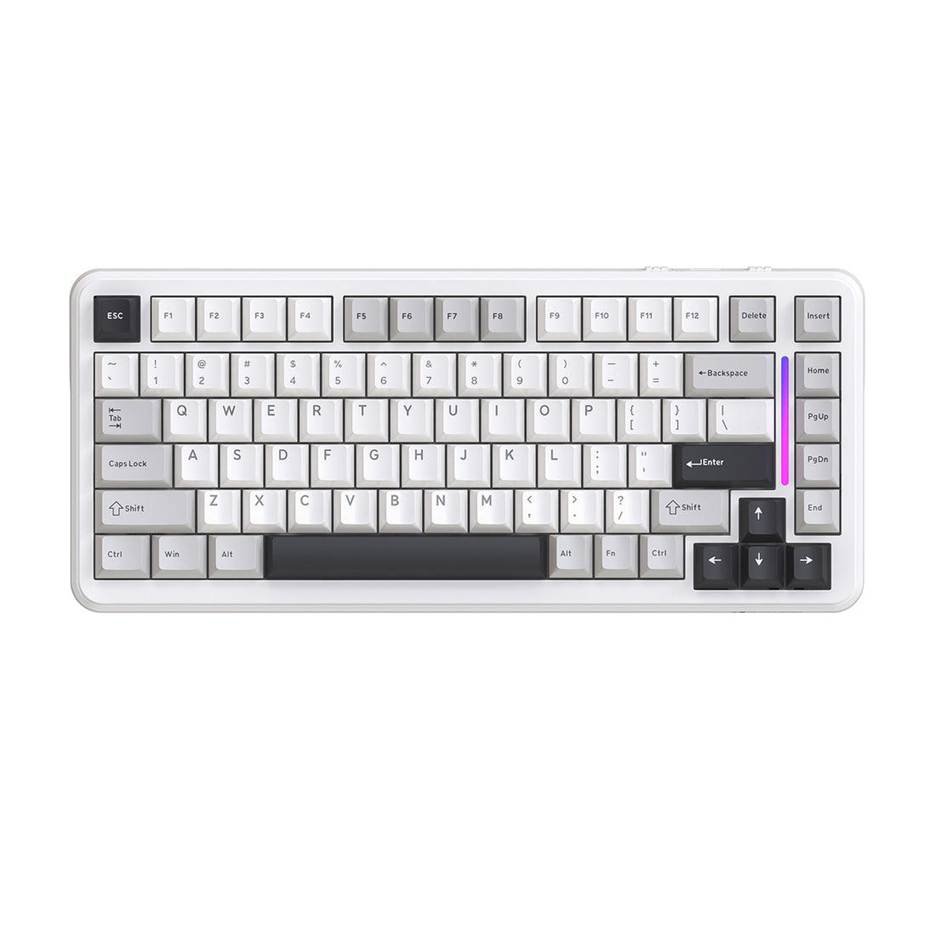
A 75% keyboard retains approximately 75% of the keys found on a standard full-sized board, typically housing around 82 to 84 keys in a tightly condensed frame. Unlike a 60% layout that strips away the function row and arrow cluster entirely, or a tenkeyless (TKL) that only removes the numpad, the 75% design keeps your F1–F12 row, arrow keys, and a slim navigation column—all packed into a footprint barely wider than a 60%. This makes it a uniquely practical compact keyboard for gamers who refuse to sacrifice essential inputs.


The real payoff shows up on your desk. A full-sized gaming keyboard can stretch over 17 inches wide, pushing your mouse pad into awkward territory and forcing wide arm positioning that leads to fatigue during long sessions. A 75% board shaves off roughly four to five inches, giving you the low-sensitivity mouse sweeps that FPS players crave or the comfortable arm placement that keeps MOBA players relaxed through extended matches. You still get dedicated keys for volume control, print screen, and delete—functions that 60% users must access through layered combinations.
For casual gamers seeking that sweet spot between functionality and freedom, this layout delivers. You don’t need to memorize complex layer shortcuts just to hit an arrow key, yet you gain enough desk space to make a noticeable difference in comfort and mouse accuracy. It’s a gaming keyboard built for players who want efficiency without a learning curve.
Unlocking Efficiency with Programmable Keys
Programmable keys are exactly what they sound like—keys you can assign custom functions to, overriding their default behavior with whatever input serves you best. On a gaming keyboard, this means any key can become a shortcut for a complex command, a macro that executes multiple actions in sequence, or a remapped input that places critical controls exactly where your fingers naturally rest. Instead of stretching across the board to hit a distant key during a firefight, you bring that function closer to home.
For casual gamers, this capability solves a real problem. You might worry that moving from a full-sized keyboard to a 75% layout means losing quick access to certain commands—maybe you relied on numpad keys for inventory slots or used dedicated macro keys that larger boards sometimes include. Programmable keys eliminate that concern entirely. Every key on your 75% board can pull double or even triple duty through layers and custom bindings, effectively giving you more functionality in less physical space.
Think of it this way: a 75% keyboard with fully programmable keys doesn’t have fewer options than a full-sized board—it just organizes them more intelligently. You can dedicate your right-side navigation column to gaming commands you’d otherwise need a separate panel for, or turn rarely-used keys like Scroll Lock and Pause into instant-cast abilities. The reduced key count becomes an advantage rather than a limitation because every remaining key earns its place through intentional programming tailored to how you actually play.
See also: influence of technology explored
Step-by-Step Guide to Programming Your 75% Gaming Keyboard
Choosing the Right Software for Your Keyboard
Most 75% gaming keyboards ship with dedicated configuration software from their manufacturer—tools like QMK/VIA for enthusiast boards, or proprietary suites that brands like MAMBASNAKE bundle with their hardware. Some keyboards also support open-source firmware that gives you granular control over every layer and function. When selecting your software, confirm it’s compatible with your specific keyboard model and check whether it supports features you’ll actually use, such as macro recording, per-key RGB customization, or cloud profile storage. If your board supports VIA, that’s often the simplest starting point since it offers real-time key remapping without flashing firmware.
Basic Key Programming Steps
Start by downloading and installing your keyboard’s companion software, then connect your board via USB to ensure a stable connection during programming. Once the application launches, you’ll typically see a visual representation of your keyboard layout. Click any key to select it, then choose a new function from the available options—this could be a different keystroke, a media control, or a modifier combination. For example, you might reassign the Pause/Break key to act as a push-to-talk button for your voice chat application. After making changes, apply or save the profile. Most software lets you store multiple profiles, so you can create separate configurations for different games and switch between them instantly. Test each remapped key in a text editor or game lobby before jumping into a match to confirm everything registers correctly.
Creating Macros and Dedicated Gaming Commands
Macros take key programming further by letting you record a sequence of inputs—including precise timing delays—and execute them with a single keypress. In your software’s macro editor, create a new macro and either type the sequence manually or use the record function to capture your keystrokes in real time. For instance, an MMO player might record a buff rotation that presses three ability keys with specific delays between each, then bind that entire sequence to the Scroll Lock key. MOBA players can assign item-activation combos to a single key in their navigation column. When building macros, keep the sequences short and purposeful—overly long chains can misfire if game servers introduce latency. Assign your most-used macros to keys positioned near your resting hand position so you never need to lift your fingers from their home row during critical moments.
Optimizing Your Setup for Maximum Gaming Performance
Once your keys are programmed, the next challenge is organizing them in a way that matches how you actually play. For FPS games, cluster your most critical bindings around the WASD area—weapon swaps, grenade throws, and tactical abilities should all fall within one key’s reach of your movement fingers. Consider reprogramming the right-side navigation column (Home, Page Up, Page Down) into push-to-talk, quick-save, or scoreboard toggles that your off-hand can tap without disrupting aim. MOBA and RTS players benefit from stacking item activations and control group commands onto the function row or upper-right cluster, keeping the left hand free for ability combos on the number row.
Balancing functionality with the desk space you’ve gained matters just as much as the bindings themselves. Position your 75% keyboard slightly left of center so your mouse arm sits at a natural angle—this complements the compact footprint by maximizing the ergonomic advantage you’ve already unlocked. Create game-specific profiles rather than one universal layout, and assign a dedicated key combination to cycle between them so transitions between titles feel seamless. Revisit your bindings every few weeks as your muscle memory develops; what felt intuitive on day one might need refinement once you’ve logged serious hours. The efficiency of a programmable 75% keyboard compounds over time—each small adjustment removes friction, shortens reaction windows, and keeps your focus locked on gameplay rather than fumbling for the right input.
Start Programming Your 75% Keyboard for a Better Gaming Experience
A 75% gaming keyboard strikes the perfect balance between compact desk efficiency and the functionality casual gamers need to stay competitive. By programming your keys intentionally, you transform a smaller layout into something more capable than a full-sized board—every key serves a purpose tailored to your specific playstyle, and the extra desk space translates directly into better mouse control and reduced arm fatigue during long sessions.
To recap the process: start by selecting the right configuration software for your board, then remap underused keys to functions that matter for your favorite games. Build short, reliable macros for repetitive command sequences, and organize your bindings so critical inputs stay within easy reach of your resting hand position. Create game-specific profiles and revisit them as your muscle memory evolves over time.
The beauty of a programmable 75% keyboard is that it rewards experimentation. Don’t settle for your first configuration—tweak, test, and refine until every keystroke feels effortless. Start with one or two remaps tonight, build a macro this weekend, and within a few sessions you’ll notice the difference in how fluidly you play. Your compact keyboard has far more potential than its size suggests—unlock it.


