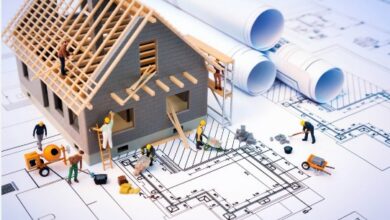
Installing a water heater is a crucial task that requires precision and adherence to safety standards. Whether replacing an old unit or installing a new one, the process involves several critical steps to ensure efficient operation and longevity of the system. We will explore the meticulous steps of professional water heater installation, from preparation to final testing.
Preparation and Assessment
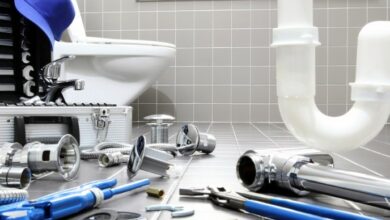
Before beginning the installation process, a professional plumber thoroughly assesses the installation site and the existing plumbing system. This step helps determine the appropriate size and type of water heater required to meet the household’s hot water demands. Factors such as water usage patterns, available space, and local building codes are carefully considered to ensure compliance and optimal performance. Additionally, any necessary adjustments to the plumbing infrastructure are planned at this stage to accommodate the new water heater.
Installation of Water Heater
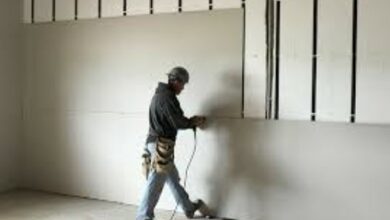
With the assessment completed, the installation process begins with preparing the installation site. The old water heater, if present, is safely disconnected and removed. The plumber ensures that the area is clean and free from debris to facilitate the installation of the new unit. Next, the new water heater is positioned according to manufacturer specifications, considering ventilation and service access clearances. Connections to the existing plumbing lines are made meticulously, ensuring tight seals and proper alignment to prevent leaks.


Electrical and Gas Connections
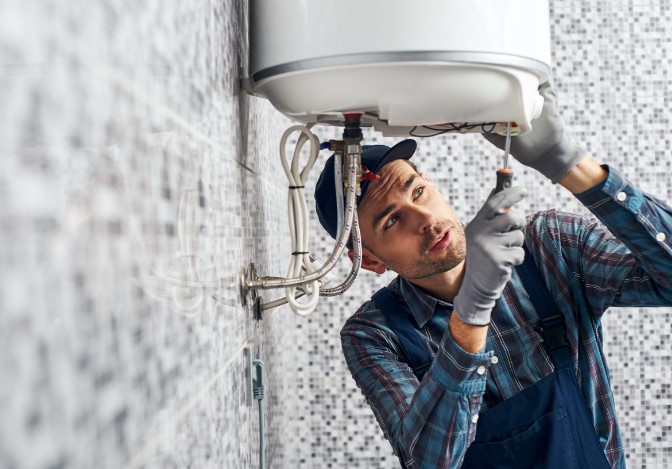
Depending on the type of water heater—electric or gas-powered—the next step involves making electrical or gas connections. The plumber connects the unit to the household electrical supply for electric water heaters, ensuring compliance with local electrical codes and safety standards. In the case of gas water heaters, precise connections are made to the gas line, including installing a shut-off valve and proper ventilation to exhaust combustion gases safely. Careful attention is given to securing all connections to prevent gas leaks, which can pose serious safety hazards.
Insulation and Testing
Once all connections are securely in place, the plumber insulates any exposed pipes and fittings to improve energy efficiency and prevent heat loss. Insulation also helps maintain hot water temperatures as water travels from the heater to the faucets. Following insulation, the entire system undergoes rigorous testing to ensure functionality and safety. The water heater is filled with water, and all valves are checked for proper operation. The plumber verifies that the temperature and pressure relief valve (TPR valve) functions correctly to prevent over-pressurization.
Read also: Water Heater Installation and Maintenance: Ensuring Efficient Hot Water Supply
System Flushing and Debris Removal
Before finalizing the installation, it’s crucial to flush the water heater system thoroughly. This step removes any sediment or debris that may have accumulated during installation or in the unit, which can compromise performance and longevity. Flushing helps maintain water quality and prevents potential clogs in faucets and fixtures throughout the household. The plumber carefully monitors the water flow during flushing to ensure all impurities are effectively removed, promoting optimal operation and efficiency of the water heater.
Final Inspection and Documentation
Once flushing is complete, the plumber conducts a final inspection of the entire installation. This includes checking all fittings, connections, and valves for tightness and proper functionality. Any adjustments needed are made promptly to guarantee the system operates at peak performance. Additionally, the plumber provides the homeowner with documentation of the installation, including warranty information, operating instructions, and maintenance recommendations. This documentation is a valuable reference for future maintenance and ensures the homeowner understands how to care for their newly installed water heater properly.
Customer Education and Satisfaction
Before completing the water heater installation process, the plumber educates the homeowner on the operation and maintenance of their new water heater. This includes explaining temperature settings, energy-saving tips, and signs that may indicate the need for professional maintenance or repairs. By empowering the homeowner with knowledge, the plumber enhances customer satisfaction and ensures the longevity and efficiency of the water heater. Clear communication and transparency throughout the installation process contribute to a positive experience for the homeowner, reinforcing trust and reliability in professional plumbing services.
Professional water heater installation involves meticulous steps to ensure safety, efficiency, and reliability. From initial preparation and assessment to final testing and commissioning, each phase of the installation process requires attention to detail and adherence to industry standards. By following these steps, plumbers install water heaters effectively and contribute to the long-term performance and durability of the systems they install. For homeowners, partnering with a qualified plumber for water heater installation is essential to enjoy an uninterrupted hot water supply and peace of mind.
<iframe src=”https://www.google.com/maps/embed?pb=!1m14!1m8!1m3!1d92618.50866770347!2d-116.4164761!3d43.4954844!3m2!1i1024!2i768!4f13.1!3m3!1m2!1s0xa2a111f940ebbff5%3A0x4f8bb9bab8259944!2sTrade%20Masters%20Construction!5e0!3m2!1sen!2sus!4v1712057341799!5m2!1sen!2sus” width=”600″ height=”450″ style=”border:0;” allowfullscreen=”” loading=”lazy” referrerpolicy=”no-referrer-when-downgrade”></iframe>